When you log in to your account you'll land on the main dashboard which will look something like this.

You'll notice a number of icons on the left-hand side as well as a pop-out sidebar that you can use to quickly navigate around the Genovo app. You can pin the sidebar, so it remains collapsed, using the arrow key towards the top (as per screenshot above).
On the right-hand side you’ll see a summary of the last twenty reports you’ve created or edited and a recent news panel.
To write a new report, click Write report.
To view, edit or manage a report template, click Report templates.
To manage the client, investment and provider information that you (and your users) can pull into your reports, click Libraries.
To customise the look and feel of your reports, your workspace and the web pages when you (and your users) log in to Genovo, click Customisation.
To manage your account and its settings, click Account admin.
To manage your integrations with third party apps, click Integrations.
Report Templates
The Report Templates Library allows you to manage the report templates that you (and your users) can use as a starting point for creating a new report.

Customisation Dashboard
Customisation has a secondary dashboard that looks like this.

Certain icons may not be active on your customisation dashboard depending on the role you've been allocated within your account.
To manage and customise the selectable options included in the steps of the various wizard sections of the Report Builder, click Advice options and reasons.
To customise and manage the entire boilerplate content of your reports and report templates, click Report content manager.
To configure which sections show in the Report Builder for each Report Type and create your own custom non-wizard sections for use in your reports, click Report section manager.
To select and customise the attitude to risk profiles that are used in your reports, click Attitude to risk profiles.
To customise the look and feel of the web pages when you (and your users) log in to Genovo to reflect your company’s branding and colour scheme, click GUI theme.
To manage the scale and categories of the ratings that users can (optionally) apply to reports, click Report ratings.
Brand theme dashboard
To customise the 'look and feel' of your reports, click Brand theme, which will take you to another sub-dashboard.
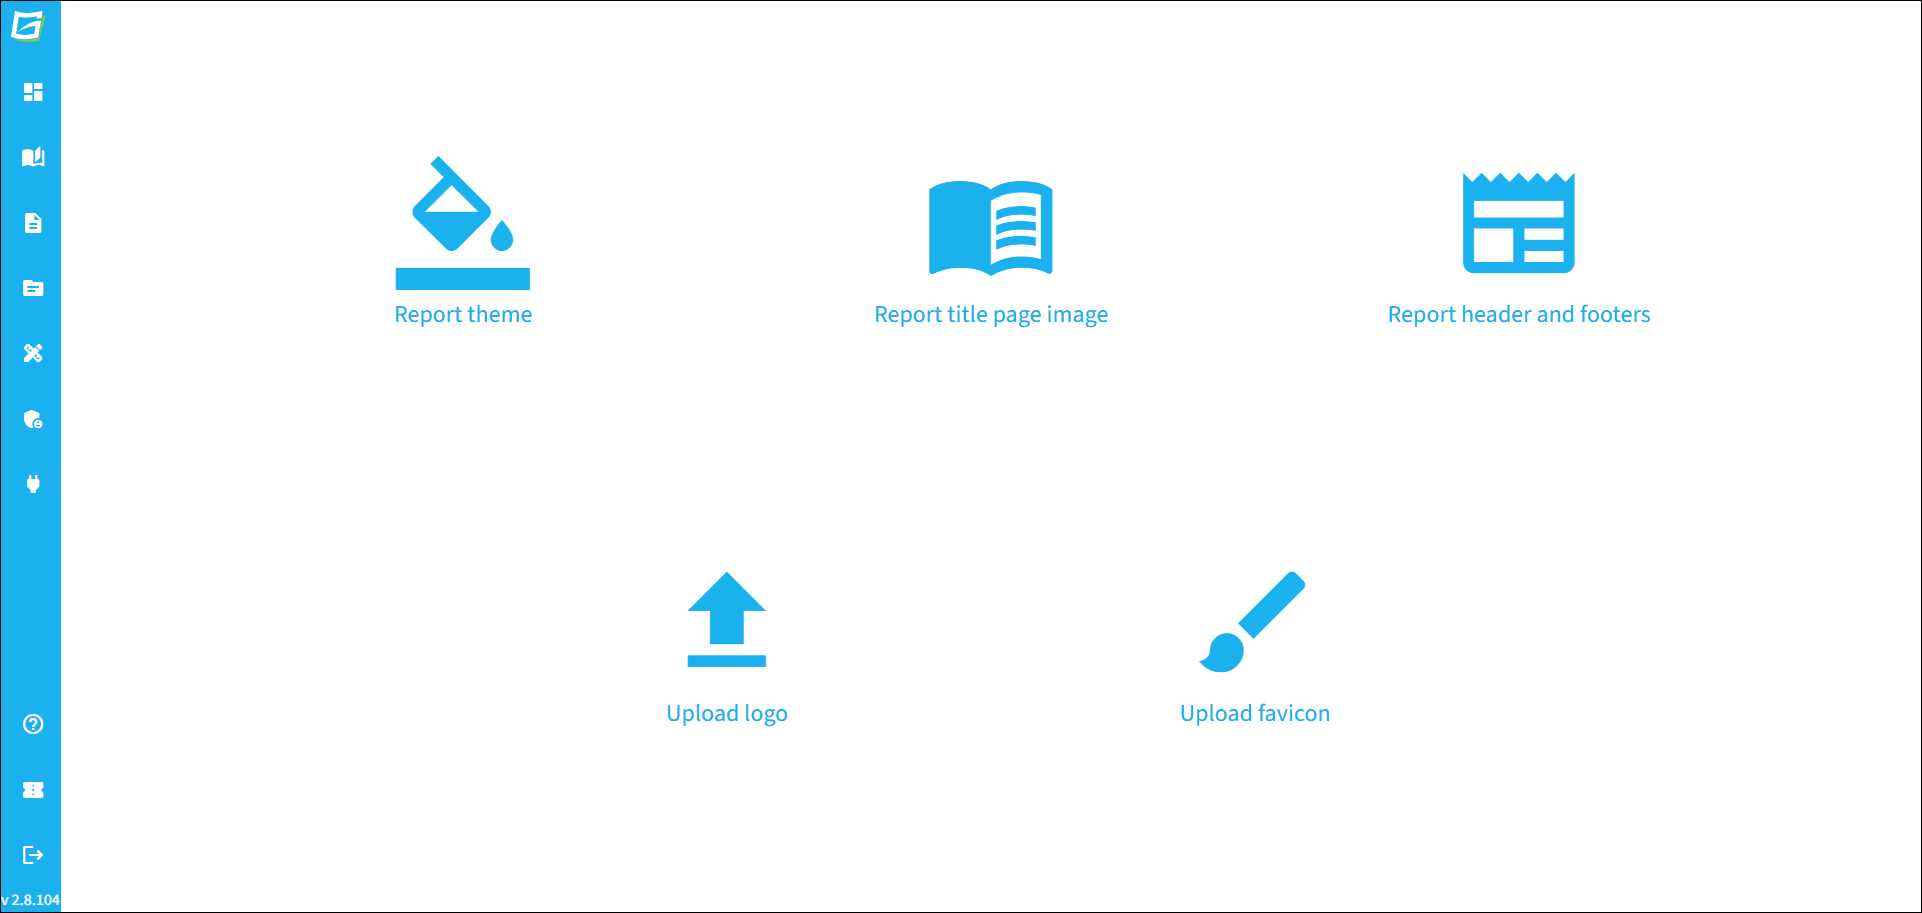
To customise the fonts, colours and styling used in your reports, click Report theme.
To add a background image to your report title page to make your reports more visually interesting and appealing and give them a more magazine-like feel, click Report title page image.
To customise your report footers (one for the report title page, one for all other report pages), click on Report header footers.
To upload your company logo and display it in the top left hand corner of the Genovo app and on the front page of your reports, click Upload logo.
To upload your favicon and display it in the top left hand corner of the Genovo app as well as the top right hand corner of each page of your reports click Upload favicon.
Libraries Dashboard
Libraries has a secondary dashboard that looks like this.

To edit, delete, or change the ownership of a client and to access a client's existing reports click Client & report library.
To add or import information about the underlying investments (e.g. funds, model portfolios, structured products or DFMs) that you frequently recommend to your clients so it can be easily pulled into a report with a couple of clicks, click Investment library.
To manage the providers that get listed out in the 'Provider' field of the Plan Summary step of the various recommendation sections of the Report Builder, click Provider library.
To manage the library of charges profiles that will appear in the Plan Charges step of new recommendation sections, click Plan charges library.
Account Admin Dashboard
Account Admin has a secondary dashboard that looks like this.
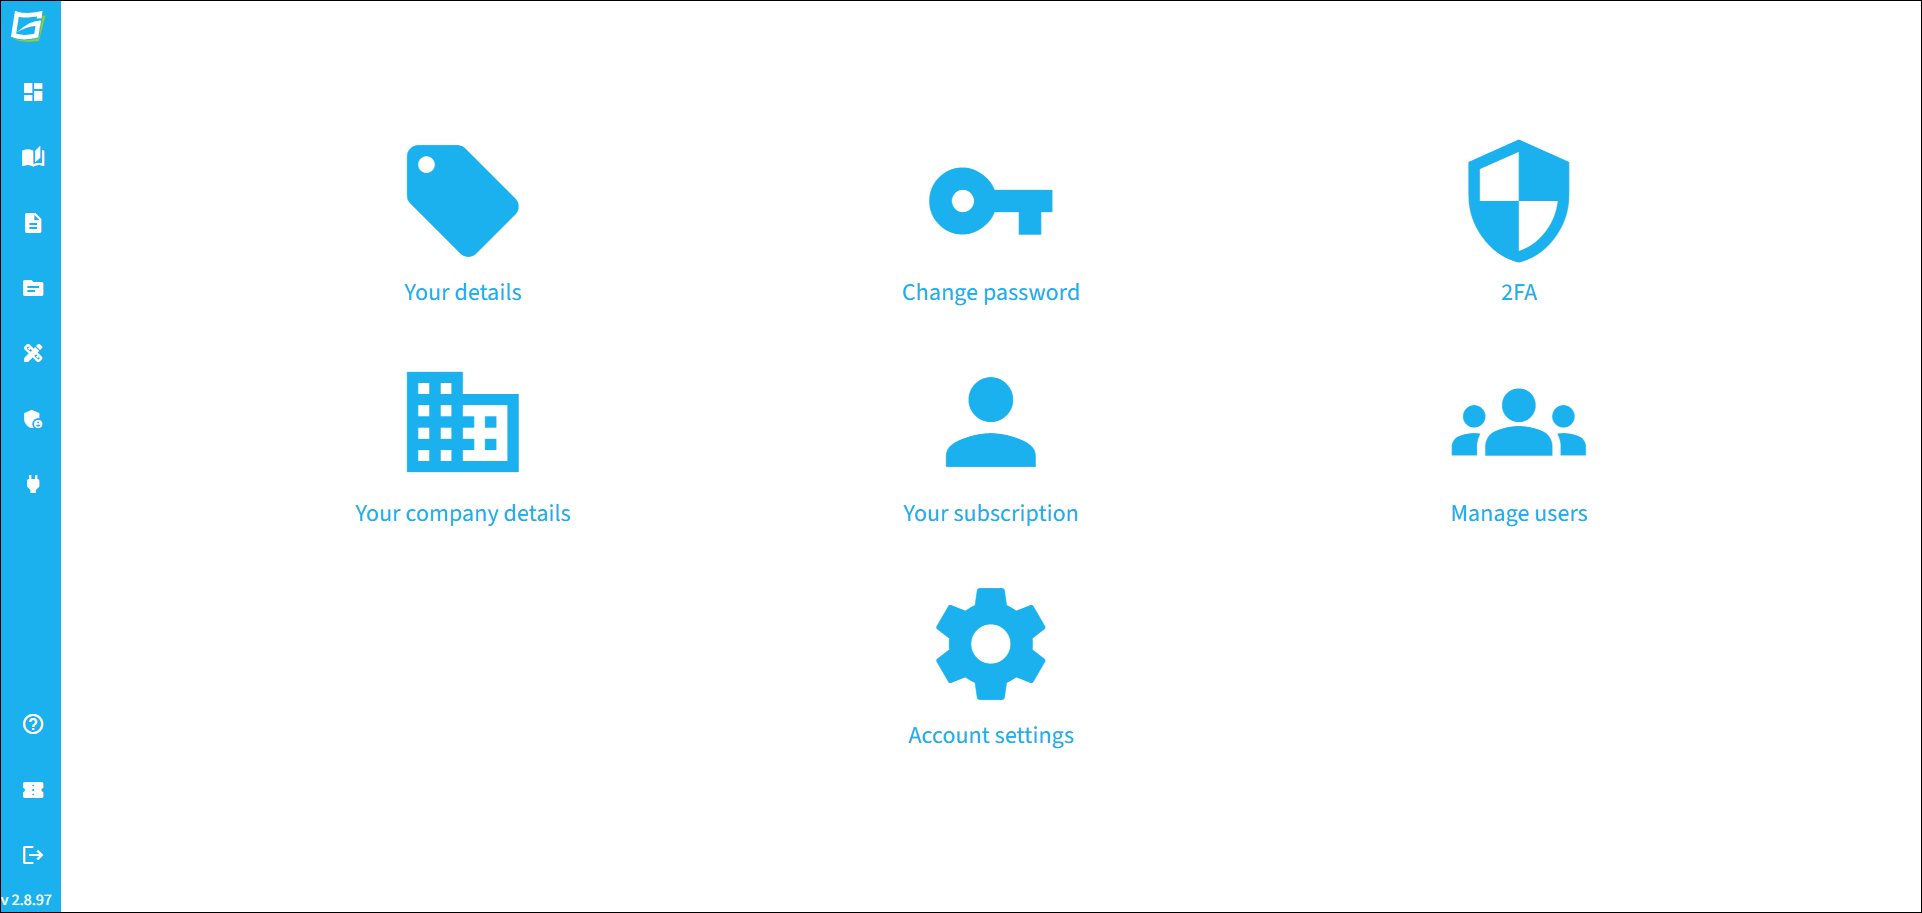
Certain icons may not be active on your account admin dashboard depending on the role you've been allocated within your account.
To change your name and job title as it appears in your reports, upload a headshot and / or signature image, update your email address and view your role, click Your details.
To change your password, click Change password.
To change the name, address and telephone number of your company, click Your company details.
Account owners can view which plan they're signed up to, and upgrade or cancel their subscription by clicking on Your subscription.
To enable / disable 2 Factor Authentication (2FA) for your account, click 2FA.
You can manage your account's Writer and Reader users and set up workgroups via Manage users.
You can edit your account's settings (app security, app and report display preferences, Gena features, integration features, etc) via Account settings.
So now that you know your way around the dashboard why not start setting up your account?