Being able to change the Report Type is particularly useful should you, as a Writer user:
- Realise part way through building a report that you’d selected the wrong Report Type, as it saves having to build the report again from scratch.
- Want to use a report you previously created for a client as the basis for their new report, but the Report Type required in each instance is different e.g. the original report was a suitability report, and the new one required is a review.
It's really easy to change the Report Type of an existing report. Just follow these simple steps:
1. From the dashboard, go to Libraries > Client & report library.
2. Locate the client to whom the existing report belongs and click on their Report Library icon.

3. Their Report Library will open in a new window. Locate the report you wish to change and click on the Change report type icon to the right of the report name.

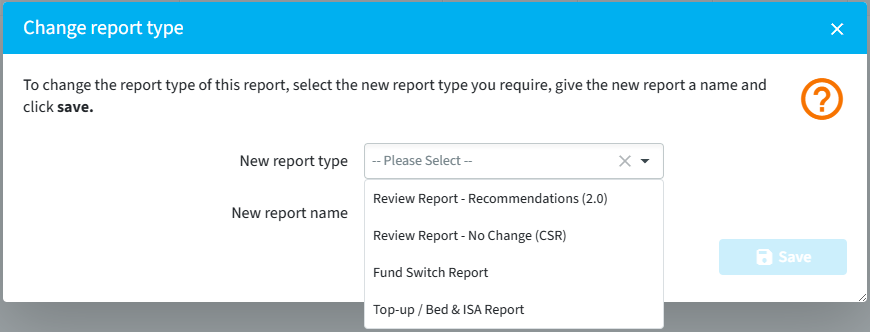
4. This will open another window where you'll be prompted to select the new Report Type and give the new report a name.
5. On clicking Save, you'll be returned to the client's Report Library where you'll notice that a new report has been created.

Changing the Report Type of a report creates a copy of the original Report Builder report - the original report will remain unchanged. You can then edit the content of the new report in the usual way by clicking on the Report name. This will direct you to the Report Builder of the newly created report where you'll notice the new report has been reconfigured to reflect the selected new Report Type.
It is worth remembering that changing the Report Type of a report will affect:
- Which sections show in the Report Builder for that report;
- Which steps show in the Wizard Sections included within the Report Builder;
- Which recommended actions show in the recommended action step of the review sections; and
- Which snippets (content) get included in the resultant report.
You'll find an overview of the different Report Types here.